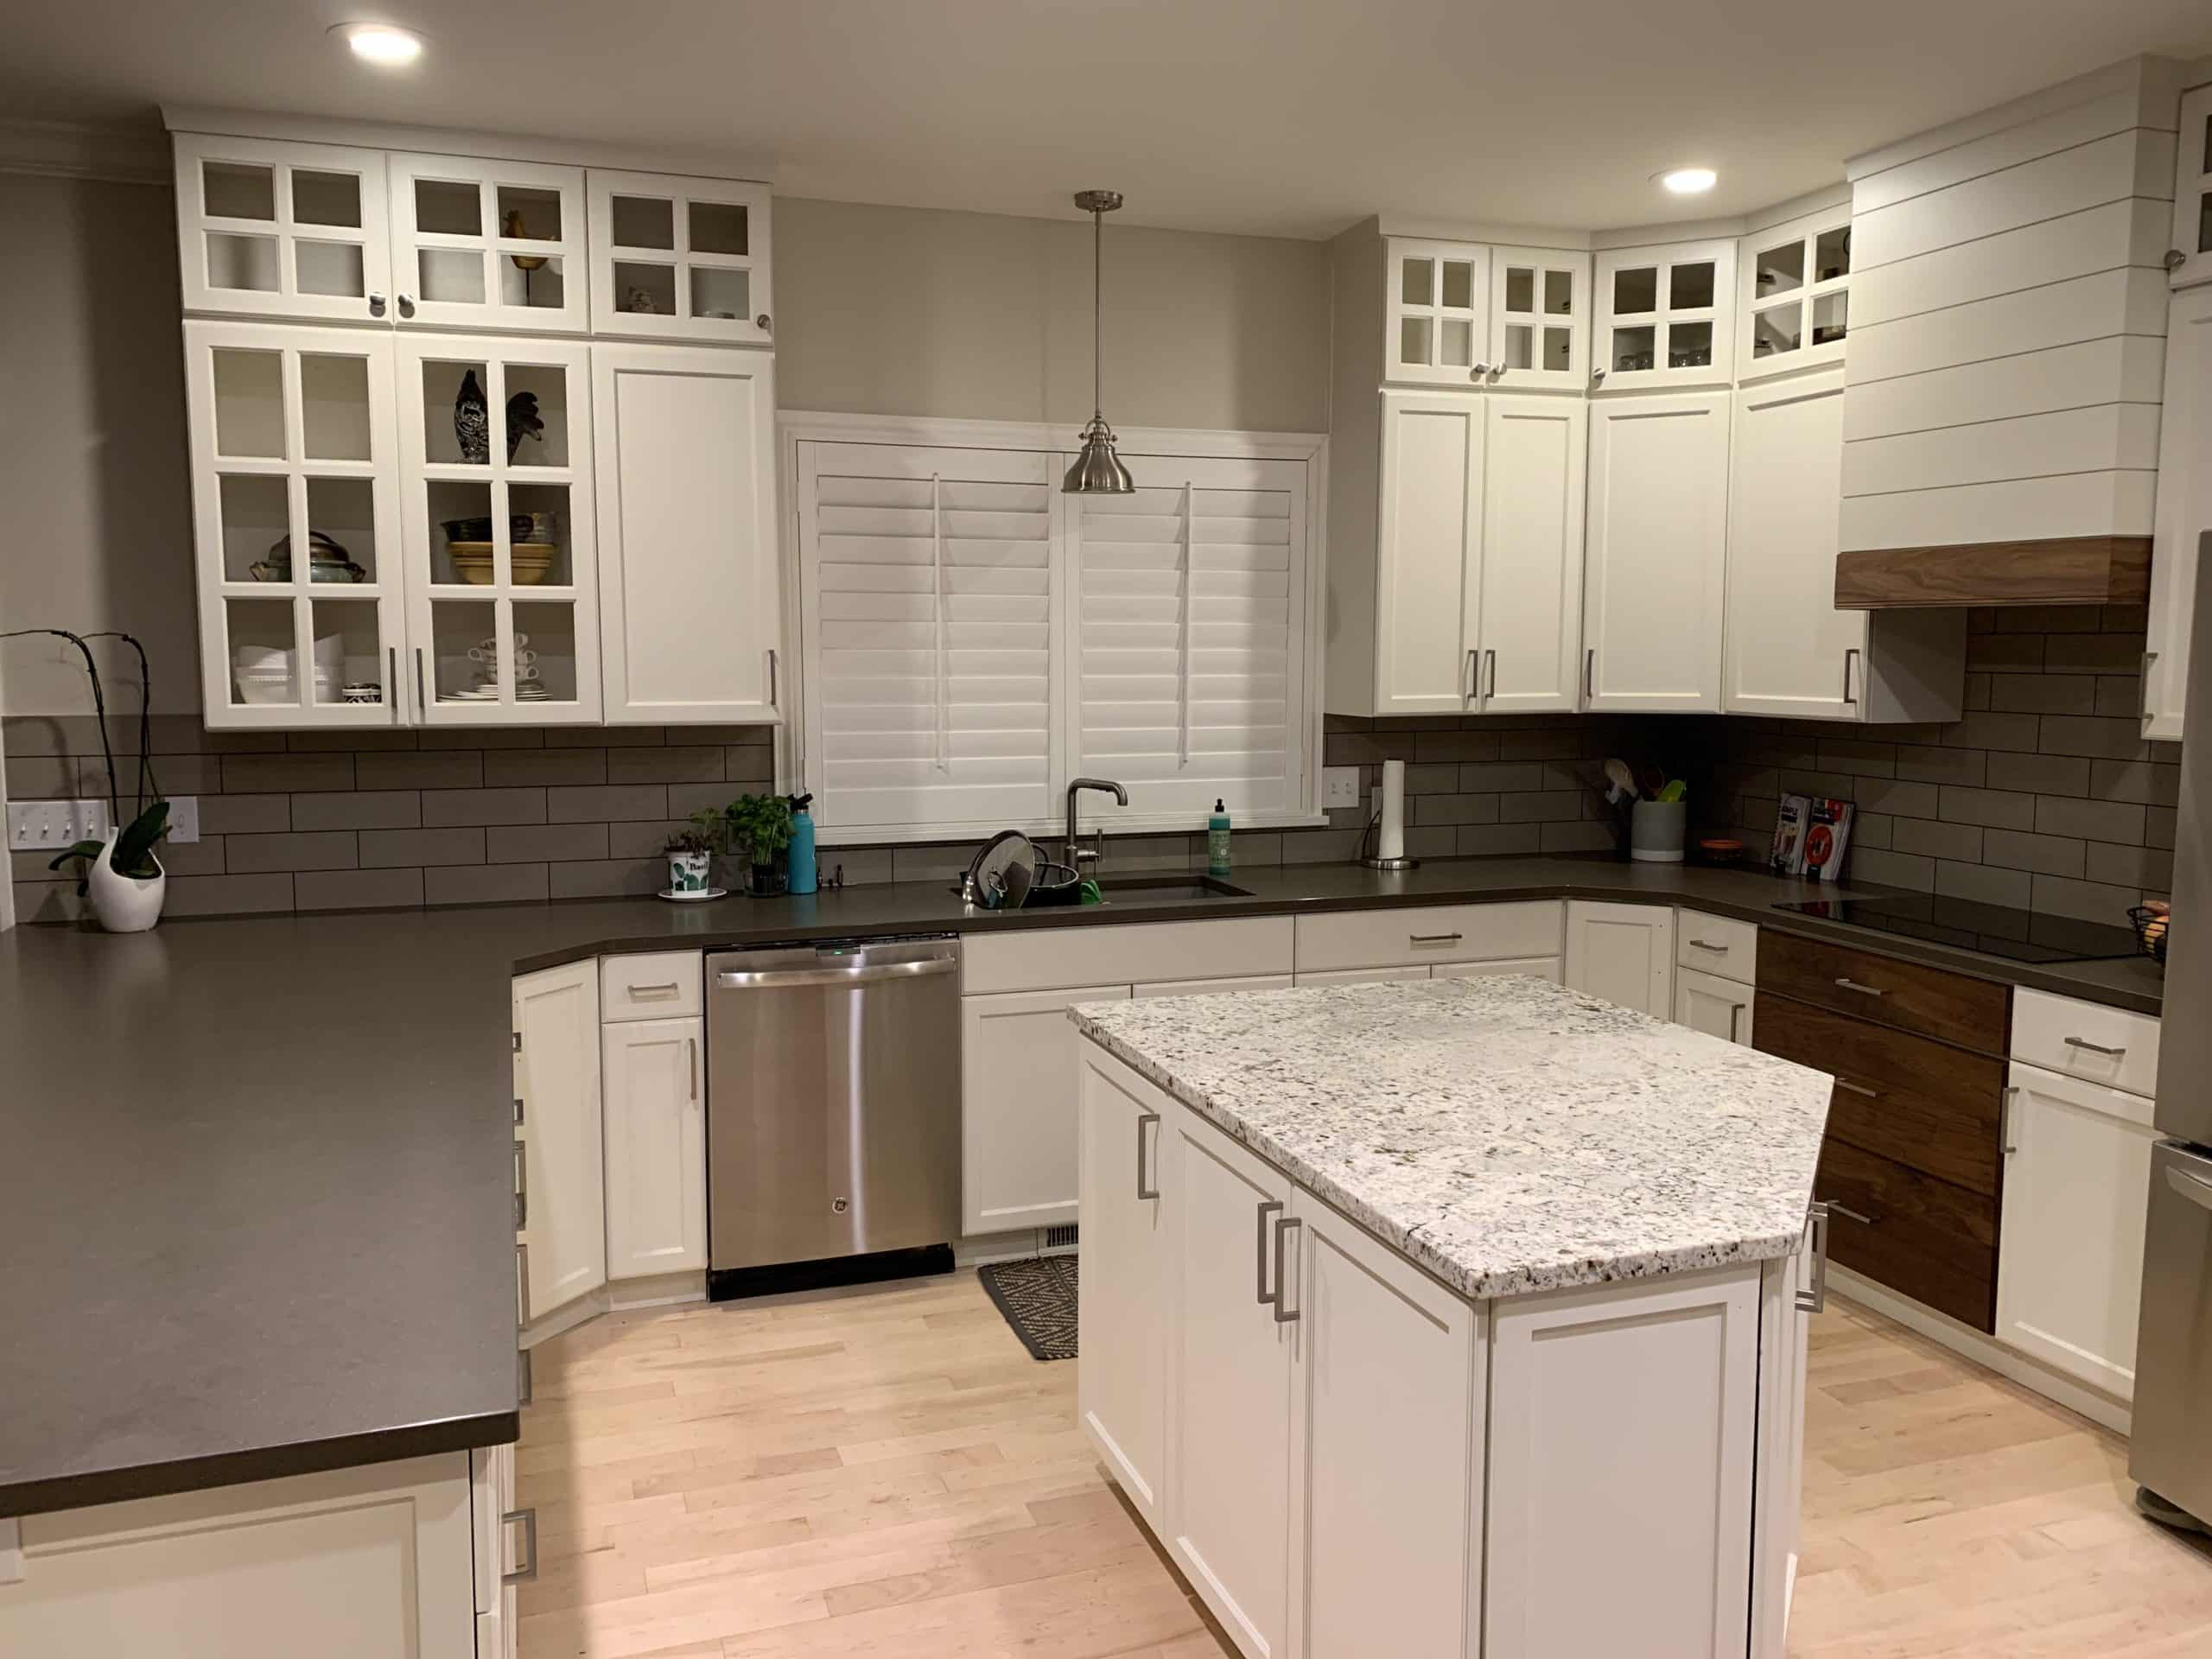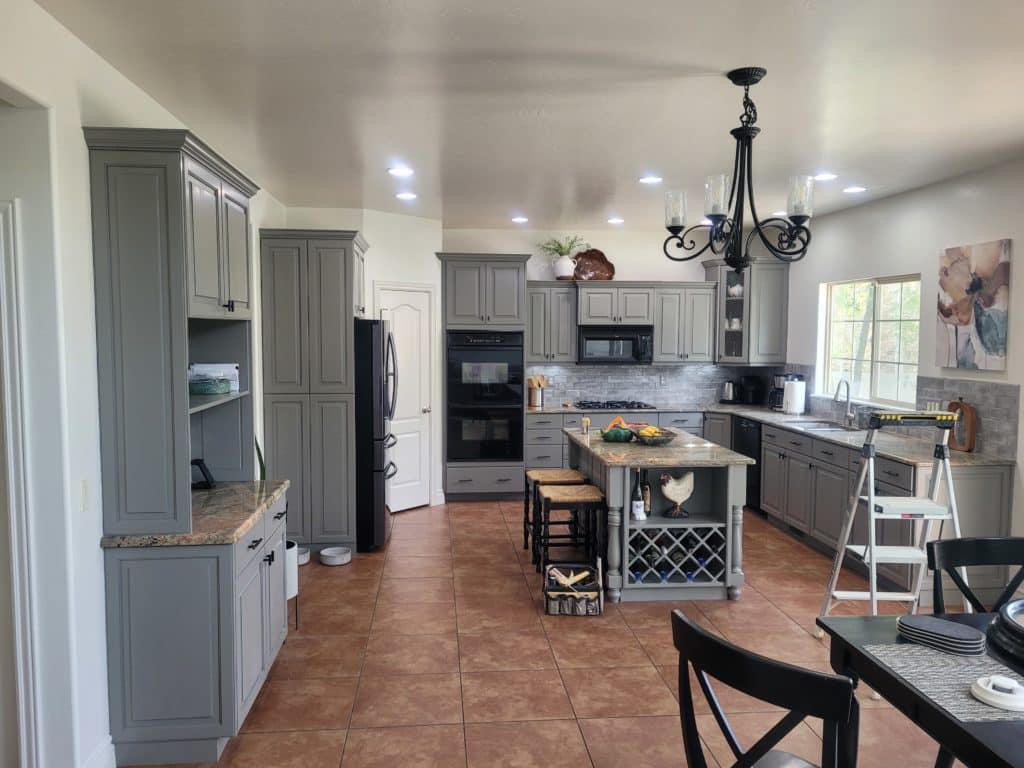
Does your kitchen, laundry room, or bathroom feel outdated? If so, a fresh coat of paint could give the space a fresh, modern look without breaking the bank. Whether you opt for a crisp white, earthy green, or bold navy, painting cabinets can transform a room without requiring a full remodel. In this guide, we’ll walk you through everything you need to know to tackle this project with confidence.
Why Paint Your Cabinets?
Affordable Makeover — Painting cabinets costs a lot less than replacing them, especially if they’re in good condition, saving you potentially thousands of dollars.
Custom Look — When painting cabinets, you can choose the exact color and finish that fits your style and desired aesthetic, whether you prefer a trendy color or a unique combination. You can modernize a dated kitchen, complement new countertops, or refresh an existing style.
Increased Home Value — A fresh coat of paint on kitchen cabinets can boost a home’s appeal and potentially increase its value, especially if done well and paired with updated hardware.
Quality Preservation — Painting cabinets allows you to preserve the quality and structure of your existing ones while updating their look. It also reduces the risk of damaging your countertops.
Sustainable Options — Instead of sending your old cabinets to the landfill, give them a refresh. Painting cabinets requires fewer resources, generates less waste, and extends their life.
What You’ll Need
Before you start, gather your supplies:
Screwdriver — A screwdriver helps you remove hardware and doors
Degreaser or TSP Cleaner — A degreaser helps you efficiently clean the cabinets before painting.
Sandpaper — Sanding your cabinets before painting gives you a smooth surface to work with. Opt for 120-220 grit.
Painter’s Tape — This tape protects areas you don’t want painted on.
Drop Cloths — Drop cloths protect your floors and surrounding areas from spills.
High-Quality Primer — A primer provides a good base for the paint to adhere to.
Cabinet Paint — Opt for a latex or alkyd-based, satin or semi-gloss finish.
High-Density Foam Roller or Angled Brush — A roller and angled brush provide efficient coverage on larger surfaces. You may also opt for a paint sprayer to provide a smooth, professional finish.

Step-by-Step Process
Prep Your Cabinets
If you want a flawless finish, you need to prep well. Make sure you:
- Remove doors, drawers, and hardware.
- Label each door and drawer to avoid confusion later.
- Clean all surfaces with a degreaser to remove built-up grime.
- Lightly sand to dull the existing finish and improve paint adhesion.
- Wipe away dust with a tack cloth.
Prime Them For Success
Use a high-quality bonding primer designed for cabinets, especially if you’re painting over wood, laminate, or a glossy surface. The step prevents peeling and improves durability. Allow it to dry completely before applying any paint, and, for a smooth finish, lightly brush over the wet primer in the direction of the grain.
Paint with Care
When painting cabinets:
- Start with the back of the cabinet doors to avoid drips.
- Use a foam roller for smooth, streak-free results.
- Use an angled brush for detailed areas.
- Overlap brush strokes slightly while the paint is wet to blend them and avoid brush marks.
- Let each coat dry fully before applying the next. Two coats are typically recommended.
- Remember to apply thin, even coats.
Let It Cure
While the paint may feel dry to the touch within a few hours, full curing can take several days or even several weeks. Handle your cabinets gently during this time to avoid dents or fingerprints. If you want to test if your cabinets have cured, gently press your fingernail in an inconspicuous spot, and if it leaves a mark, it’s not fully cured.
Reassemble and Enjoy
Once all your cabinets have dried and cured, reattach the hardware and doors and hang your cabinets back up. Then you can step back and admire your beautifully updated space.
Common Mistakes to Avoid
No Sanding — Don’t skip the sanding step. Even minimal sanding can improve adhesion.
Using Wall Paint — When painting cabinets, use cabinet-grade paint as it’s more durable and resistant to chips.
Rushing Reassembly — Allow your cabinets to dry and cure properly before putting them back together.

If you are afraid of making a mistake, you can opt for a professional paint job. This will guarantee a flawless finish and save you any headaches.
Painting Your Cabinets — A Cost-Effective, Easy Upgrade
Painting cabinets requires patience and attention to detail, but the reward is well worth the effort. With the right preparation, tools, and techniques, you can achieve a beautiful finish that transforms your space and adds value to your home.
