Rosewood Painting and Remodeling

Rosewood Painting and Remodeling

Refer a Friend Get a Quote (385) 348-5022
  • Painting
    • Cabinet Painting
    • Exterior Painting
    • House Painting
    • Interior Painting
    • Cabinet Refinishing
    • Deck Painting & Staining
    • Painted Brick & Stucco
    • Log Cabin Refinishing
    • Pressure Washing
    • Epoxy Floor Coatings
  • Remodeling
    • Bathroom Remodeling
    • Kitchen Remodeling
    • Basement Finishing
    • Master Suites
    • Sheetrock / Drywall Repair
    • Finish Carpentry
    • Closet Remodel
    • Shower Remodel
    • Demolition
  • Flooring
    • Carpet
    • Tile
    • Hardwood
    • Luxury Vinyl
  • Commercial
    • Commercial Painting
    • Commercial Flooring
    • Tenant Improvements
  • Portfolio
  • About
    • Blog
    • Reviews
    • Estimate
    • Contact
      • Layton
      • Bountiful
      • Adams Interiors
  • Financing

9 Remodeling Mistakes That Can Blow Your Budget

Home | Painting

Remodeling Mistakes That Can Blow Your Budget

Remodeling provides an exciting opportunity to upgrade your home. However, with that excitement comes the chance for costs to spiral beyond what you planned for. Whether you’re updating a bathroom or undergoing a full kitchen renovation, one wrong move or impulsive decision can mess up your budget and knock you off schedule. Here are some of the most common remodeling mistakes that can blow your budget and how to avoid them. 

1. Underestimating the Total Cost

Many homeowners rely on ballpark estimates or optimistic online calculators, which may not factor in labor costs, permits, materials, design fees, and contingency costs. Always create a realistic budget that includes all these factors and at least 10-20% extra for unexpected expenses. 

Tip: Consider getting a bid from a licensed contractor who is known for quality and has appropriate experience. 

2. Skipping a Detailed Plan

Jumping into a renovation without a solid plan can lead to unnecessary stress, spiraling costs, expensive mistakes, and pricy mid-project changes. Every detail — from materials to finishes to plumbing layouts — should be decided on before you start demolition.  A detailed plan will also help you stay within budget when the typical issues and unforeseen challenges arise. 

Tip: Create a detailed project plan and timeline. Use budget apps or software to help you stay organized and track changes. 

3. Changing Your Mind Mid-Project

Making design changes after construction begins almost always leads to delays and added expenses. Every alteration can trigger a domino effect — new permits, reorders, and extra labor costs.

Tip: Tip: Finalize all decisions during the planning phase and resist the urge to “tweak” things during execution.

4. Ignoring Permits and Building Codes

You take a big risk when you skip permits in order to save time and money. If your remodel fails inspection or has to be redone, you may have to pay fines and spend more money, using up what you saved. You can also hurt your resale value and complicate insurance claims. 

Tip: Always check with your local municipality or work with a contractor who handles the permitting process.

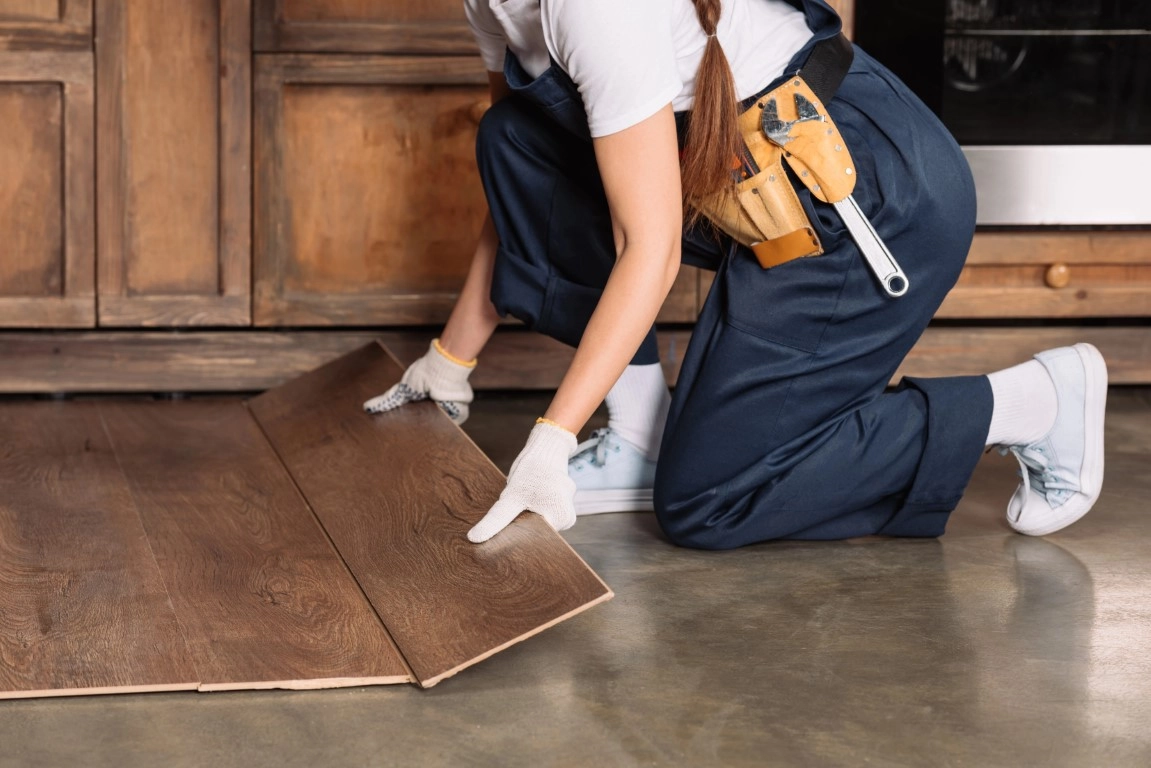
5. Choosing Trend Over Timeless
Remodeling Mistakes That Can Blow Your Budget

You may love your trendy finishes now, but they can quickly go out of style, leaving you with an outdated kitchen, bathroom, or living room you may not like in a few years. Trendy touches may also cost more than classic alternatives. That popular backsplash you found online may also hurt your home’s resale value down the line.

Tip: Aim for timeless design in permanent fixtures and add trendy, personal touches with small, easily replaceable accessories to avoid making mistakes you regret down the line.

6. Hiring the Wrong Contractors

Never choose a contractor based solely on the price, or skip background checks. Poor or little research can lead to subpar work, delays, and surprise costs from inexperience or miscommunication. 

Tip: Always check references, licenses, insurance, their portfolio, and reviews. Don’t skip the contract — ensure everything is in writing. You should also ask plenty of questions, so you and the contractor are on the same page. 

7. DIYing Beyond Your Skill Level

Doing renovations can help you save money. However, doing electrical work, plumbing, or structural work when you don’t have the experience can create a dangerous situation or require expensive professional corrections.

Tip: Remodeling provides a great chance for you to develop or refine your skills. However, know your limits. Tackle cosmetic updates yourself and leave the complex jobs to the professionals.

8. Not Accounting for Living Expenses

Consider whether you will need to live elsewhere during the remodel, eat out more often, or rent storage space, as these costs can add up fast if you didn’t add them to your budget. 

Tip: Include temporary living and lifestyle costs in your overall remodel budget.

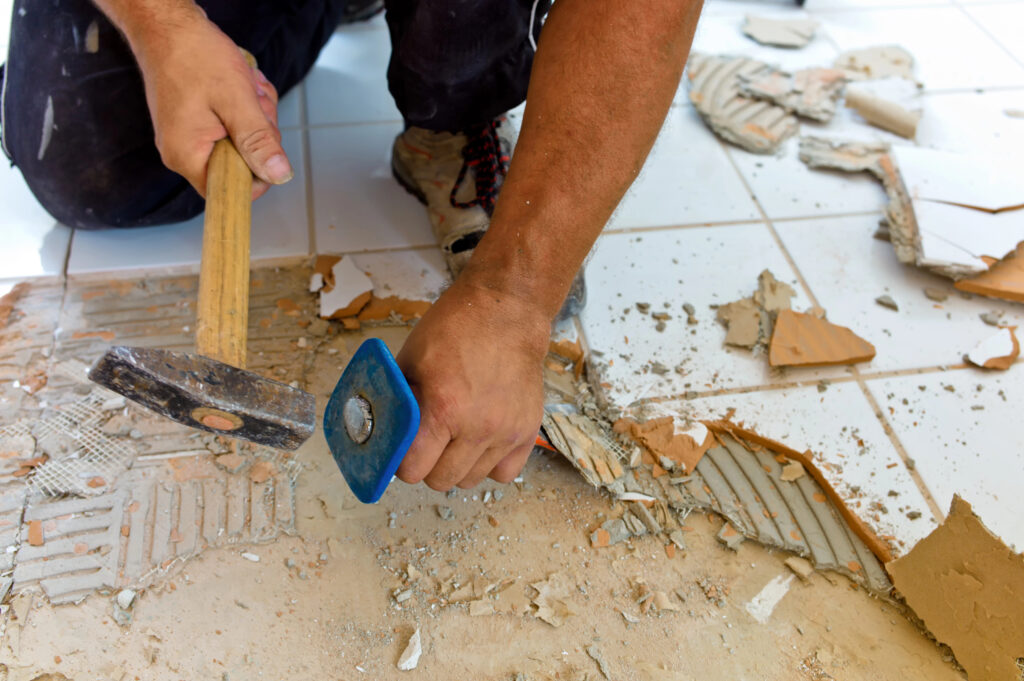
9. Buying Cheap Materials

Cheap materials may save you money initially, but over time, you may experience warping, breaks, rough saw cuts, and other problems, causing you to replace things sooner than you would like or more often than expected.

Tip: If you want to save money, consider cutting items that won’t impact the overall design or structure of the space you are remodeling, such as hardware or backsplash. These can be added later when you have the funds. 

Avoid These Mistakes to Save Money During Your Next Remodel
Remodeling Mistakes That Can Blow Your Budget

Remodeling can breathe new life into your home and even boost its value. However, the process is full of potential financial pitfalls. From poor planning and impulsive design changes to hiring the wrong contractor or overlooking hidden costs, you can easily make mistakes and blow passed your set budget. 

The key to staying on track is preparation: know what you want, plan thoroughly, set a realistic budget, and work with trusted professionals. By avoiding these common remodeling mistakes, you’ll not only save money but also save yourself a lot of stress.

Filed Under: Painting

paint finishes

When it comes to painting your home, choosing the right color is only part of the equation. Equally important — but often overlooked — is the paint finish. The finish you choose can impact how your paint looks, how easy it is to clean, and how well it hides imperfections. 

In this post, we’ll break down the most common paint finishes — matte, eggshell, satin, semi-gloss, and gloss — to help you decide which one will work best in your space. 

Matte (Flat) Finish

A matte finish absorbs light and creates a non-reflective surface. Its velvety smooth look works best in bedrooms, on ceilings, and in low-traffic areas. 

Advantages 

A matte finish allows you to effectively hide imperfections and blemishes, such as bumps, cracks, and uneven texture, and easily touch up spots. It does not show fingerprints, dust, or smudges as much as other finishes. It also adds a touch of sophistication and gives a room a soft, elegant, and cozy appearance.  

Disadvantages 

Dirt and dust tend to cling to the non-reflective surface of matte paint, making it more difficult to clean. It is also less durable, making it more susceptible to scratches and scuffs, and a bad choice for high-traffic areas. Matte finishes can also make some colors look dull, and you may need specialized cleaning products and techniques to keep your walls looking nice. 

Eggshell Finish

An eggshell finish provides a low sheen, similar to that of an eggshell. It works best in dining rooms, hallways, and living rooms. 

Advantages 

This paint finish adds a slight sheen to the walls, giving your walls depth and a smooth and soft appearance. It is more durable than matte paint and cleans more easily, so it works well on walls that get dirty often. This finish also better resists stains and scuffs compared to flatter finishes. 

Disadvantages 

The sheen of an eggshell finish can highlight imperfections, such as brush marks or unevenness, and touch-ups can be difficult. It is also less durable than glossier finishes and should not be used in bathrooms or kitchens, where moisture and humidity are prevalent. 

Satin Finish

A satin finish provides a perfect balance between the sheen of gloss paint and the flatness of matte paint. It works well in kitchens, bathrooms, kids’ rooms, and high-traffic areas. 

Advantages

A satin finish has a slightly harder, more durable surface, making it easier to clean and suitable for hallways and stairs. It is also moisture-resistant, so it works well in kitchens and bathrooms. The slight sheen also helps the paint appear more vibrant. 

Disadvantages 

A satin finish can highlight surface flaws more than matte or eggshell finishes. It also requires more careful surface prep and needs to be applied carefully in order to avoid brush strokes and uneven color. This paint finish might also be too reflective for certain areas. 

Semi-Gloss Finish

paint finishes

This paint finish is noticeably reflective and offers a balance between shine and durability. This paint is perfect for trim, doors, cabinets, kitchens, and bathrooms. 

Advantages 

Semi-gloss paint is durable and resistant to wear and tear and moisture. It can also handle frequent cleaning and brighten a room. You can use it for trims and woodwork as the sheen can enhance architectural details. 

Disadvantages 

Semi-gloss paint can reflect light, making imperfections more visible. It can also make some colors feel darker, look too shiny on a wall, and show brush strokes if not applied properly. 

Gloss (High Gloss) Finish

This finish provides the shiniest and most reflective finish. Use this finish for furniture, trim, doors, and accent features. 

Advantages 

This finish can create a dramatic, modern look and make a room feel brighter and more spacious. It is highly durable and resists scratches, stains, and moisture. The smooth, glossy surface can be easily wiped clean, requiring minimal maintenance. 

Disadvantages 

This finish requires a perfectly smooth surface because it can magnify surface imperfections, such as scratches, dents, or unevenness. It also needs more frequent cleaning to prevent the buildup of fingerprints, dust, and dirt. It’s not ideal for large surface areas as it has a potential for glare, costs more than other finishes, and is difficult to touch up. 

Which Finish Should You Choose?

In summary, you should, 

paint finishes
  • Use matte or eggshell finishes for low-traffic rooms and textured walls. 
  • Go for satin or semi-gloss finishes in busy homes with kids or pets.
  • Use semi-gloss or gloss when painting trim, doors, or furniture to add durability and definition.
  • Choose satin or semi-gloss in moisture-prone areas for resistance and easy maintenance. 

Which finish will work best for you? 

Paint finish affects not only how your paint looks but also how long it lasts and how easy it is to maintain. By understanding the advantages and disadvantages of each finish, you can make the right decision for each room in your home.

Filed Under: Painting

After Renovations: The Ultimate Home Maintenance Checklist

Renovations can breathe new life into a home, however, upgrades come with new responsibilities. To keep your investment in top shape and prevent costly repairs in the future, follow this comprehensive post-renovation maintenance checklist. Whether you updated your kitchen, added a bathroom, or redesigned your entire living space, these tips will help you maintain functionality, aesthetics, and value.

Inspect Structural Changes

Walls and Ceilings — Check for any hairline cracks or settling, especially around any new openings or additions. Document and seal minor cracks with paintable caulk. 

Floors and Subfloors — Look for uneven spots or listen for squeaks in new hardwood or tile installations. Reinforce loose boards promptly to avoid damage.

Foundation — Check the foundation of the house for any cracks or signs of settling. A stable foundation plays a crucial role in the overall strength of your house. 

Sealings — Ensure there is proper sealing around doors and windows to prevent drafts and moisture buildup. 

Verify Plumbing Work

Check for Leaks — Inspect under sinks, behind appliances, and around faucets and toilets for drips and moisture. You may want to use a moisture meter if possible. 

Check Pipes —  Ensure that all pipes are properly sealed and connected. You may also need to check for rust or corrosion, especially if you renovated an older home with cast iron pipes. 

Test Water Pressure and Flow —  Run every faucet and shower to ensure consistent and adequate pressure. Flush toilets and run the disposals to confirm proper operation.

Drainage — Pour a bucket of water down each drain to ensure water flows properly and catch any potential clogs early. 

Assess Electrical Upgrades

After Renovations: The Ultimate Home Maintenance Checklist

Switches and Outlets — After renovations, test all new switches, outlets, and USB ports. Listen for any buzzing sounds or feel for any warmth, indicating loose connections.

Lighting Fixtures —  Ensure that dimmers, pendants, and recessed lights function correctly. Replace any bulbs that flicker or fail prematurely.

Safety Devices — Check Ground Fault Circuit Interrupter (GFCI) outlets in wet areas and test smoke and CO detectors. Replace batteries as needed and verify proper operation.

If you smell anything burning, you could have an urgent electrical problem. 

Maintain HVAC and Ventilation

Filter Replacement — Change or clean filters in HVAC units, range hoods, and bathroom vents after the first month post-renovation, then regularly every three months.

Test Smoke and Carbon Monoxide Detectors — After completing renovations, make sure your detectors are working correctly and change the batteries regularly. Consider scheduling battery changes when changing clocks for daylight saving time. 

Make sure you check everything for any unusual noises or strange smells. 

Preserve Exterior Upgrades

Roof and Gutters — Remove debris and inspect for loose shingles or flashing issues around new dormers or skylights. Ensure gutters are properly pitched and water flows freely. 

Siding and Paint —  Examine painted surfaces and siding for chips, bubbles, or fading. Touch up paint and repair siding joints to prevent water damage. 

Decks and Patios — After renovations, check railings, stairs, and decking boards to make sure they are stable and not wobbling. Reapply sealant or stain to newly installed wood surfaces to guard against moisture.

Care for New Appliances and Fixtures

Warranties and Manuals — Organize all the documents you have for your appliances, fixtures, and materials and store them in a dedicated folder in a safe place. 

Routine Cleaning — Read and follow manufacturer’s guidelines for cleaning and maintenance. For example, descale and clean faucets and showerheads every three months. 

Performance Checks – Make sure all appliances, including dishwashers, ovens, and HVAC systems, work properly. This also gives you a chance to catch errors before they escalate. 

Monitor Moisture and Insulation

Basements and Crawlspaces — Inspect vapor barriers and insulation for gaps or damage. If humidity rises above 50%, use a dehumidifier or sump sump to lower the moisture level. 

Attic Ventilation — Verify that ridge vents, soffit vents, and any new insulation don’t block airflow. Proper ventilation prevents mold growth and ice dams.

Landscape and Drainage

Grading — Ensure soil slopes away from the foundation, especially near new foundation walls or underground utilities. This prevents water from pooling around near the edge of your house and causing issues. 

Irrigation Systems —  Test timers, valves, and sprinkler heads after installation. You may also want to adjust zones seasonally to avoid overwatering.

Hardscape Maintenance — Seal stone pathways or retaining walls and repair mortar joints to preserve structural integrity.

After Renovations: The Ultimate Home Maintenance Checklist

Follow this Checklist to Make Sure Your Renovation Lasts

Completing a renovation marks an exciting milestone in the lifespan of your home, however, it’s just the beginning of maintaining a beautiful, functional home. By staying on top of regular inspections, cleaning, and upkeep, and completing this checklist, you can ensure that your upgrades remain in excellent condition and continue to add value and comfort to your living space.

Filed Under: Painting

  • 1
  • 2
  • 3
  • …
  • 18
  • Next Page »

Hours

Rosewood Painting and Remodeling

893 Marshall Way N
Layton, UT 84041

385-348-5022

Alt:385-503-4407

MONDAY 8:00 AM - 5:00 PM
TUESDAY 8:00 AM - 5:00 PM
WEDNESDAY 8:00 AM - 5:00 PM
THURSDAY 8:00 AM - 5:00 PM
FRIDAY 8:00 AM - 5:00 PM
SATURDAY CLOSED
SUNDAY CLOSED

Directions

Follow Us

Contact Us

2025 | Rosewood Painting and Remodeling | All Rights Reserved | Privacy Policy | Terms | XML Sitemap | Sitemap | Site by PDM