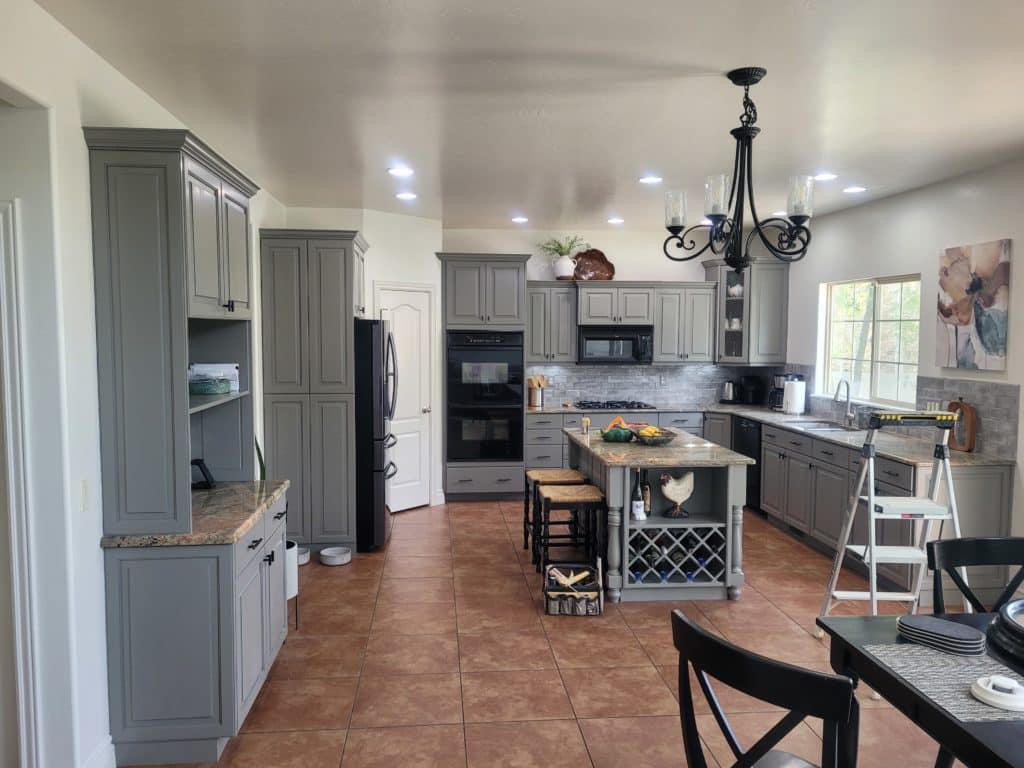
Layton Bountiful Utah Rosewood Painting and Remodeling

Rosewood Painting and Remodeling

Refer a Friend Get a Quote (385) 348-5022
  • Painting
    • Cabinet Painting
    • Cabinet Refinishing
    • Custom Interior Trim & Wall Treatments
    • Deck Painting & Staining
    • Epoxy Floor Coatings
    • Exterior Painting
    • House Painting
    • Interior Painting
    • Painted Brick & Stucco
    • Pressure Washing
  • Bathroom Remodeling
    • 1 Day Bathroom Remodeling
  • Windows & Doors
    • Window Replacement
    • Exterior Doors
  • Commercial Painting
    • Tenant Improvements
  • Portfolio
  • About
    • Blog
    • Reviews
    • Financing Options
    • Estimate

Rotten Trim? Here’s Why PVC Casing Is Your Best Fix

Home | Painting | Page 4

Rotten Trim? Here’s Why PVC Casing Is Your Best Fix

When it comes to maintaining the exterior of your home, even small details make a big difference. One area often forgotten, until there’s a problem, is the trim or casing around your doors and windows. If you’ve noticed cracking, peeling paint, or soft, rotting wood, you should take action. Replacing your rotting wood casing with durable PVC casing will protect your home and boost your curb appeal for years to come.

Why Is Your Wood Casing Rotting?

Wood casing gets exposed to the elements day in and day out. Rain, snow, humidity, and even harsh sunlight can take a toll over time. If moisture seeps into cracks or unsealed areas, fungi can start to grow and cause the wood to rot from the inside out. This not only looks unsightly but can also lead to more serious structural issues if left unaddressed. 

Why Choose PVC Casing?

PVC (polyvinyl chloride) casing has become an increasingly popular choice for exterior trim — for good reason. It offers several advantages over traditional wood:

Corrosion and Rot Resistance — PVC is highly resistant to rust and corrosion, which is a major advantage in environments where it might be exposed to moisture or chemicals. In addition, PVC, unlike wood, won’t absorb water, so it’s immune to rot and decay. 

Weather Resistance — PVC is resistant to weathering, including UV radiation from sunlight, ensuring its integrity over time, even when exposed to the elements. 

Chemical Resistance — PVC can withstand exposure to a wide range of chemicals, making it suitable for various industrial and construction applications. 

Durability — PVC casing can withstand impacts and abrasions, making it a reliable choice for demanding environments. 

Low Maintenance and Clean Look — This casing doesn’t need to be painted (unless desired) and won’t crack, split, or warp. It also maintains a crisp, finished appearance for years with minimal upkeep. 

Pest Resistance — Termites and other wood-loving pests won’t be interested in destroying your trim. 

Cost-Effective — PCV is generally more affordable than other materials like steel, making it a budget-friendly option. It also provides long-term savings because you won’t have to replace it periodically due to rot. 

Rotten Trim? Here’s Why PVC Casing Is Your Best Fix

How the Replacement Process Works 

If you’re handy, you may be able to replace your wood casing with PVC yourself. Otherwise, you’re better off having a professional handle it quickly and efficiently. Here’s what the process typically looks like:

Inspection and Removal — Identify the extent of the wood rot and the underlying cause. Carefully remove the rotting wood casing, taking care not to damage the surrounding siding or structure. Ensure the window or door frame is structurally sound. 

Prep the Area — Remove any loose debris or damaged material from the opening. Ensure the surface is clean and dry before installing the PVC trim. Consider using a sealant or primer on the exposed wood to further protect it from moisture. 

Cut and Fit New PVC Casing — Select PVC trim boards that match the size and profile of the original wood trim. Cut it to the correct length and mitre the corners at a 45-degree angle for a seamless fit. PVC can expand and contract with temperature changes, so proper installation is essential. 

Install the PVC Casing — Apply a trim adhesive or sealant to the back of the trim piece and secure it to the framing using corrosion-resistant nails or screws. You may also need to use PVC adhesive to provide additional durability.

Finish and Seal — Caulk the seams and joints between the trim and the surrounding surfaces to create a watertight seal. If desired, PVC casing can be painted with 100% acrylic exterior paint to match your home’s color scheme; however, it’s not necessary due to its inherent color and resistance to weathering.

Long-Term Benefits

Swapping out rotting wood casing with PVC provides more than a quick fix; it’s an investment in your home’s appearance and protection. With minimal maintenance, your new PVC trim will keep your windows and doors looking beautiful for many years and reduce water damage, pest infestations, and costly repairs down the road. 

Rotten Trim? Here’s Why PVC Casing Is Your Best Fix

PVC Casing — The Best Solution for Rotting Trim

Replacing wood casing with PVC not only eliminates the ongoing headache of wood rot and maintenance, but it also adds long-lasting beauty and protection to your windows and doors. Whether you want to tackle this as a DIY project or hire a professional, investing in PVC casing means fewer repairs, improved curb appeal, and peace of mind for years to come. Don’t wait until the damage spreads — take care of your home today. 

Need help replacing your wood casing with PVC? Contact Rosewood to get the job done right.

Filed Under: Painting

The Ultimate Guide to Exterior Painting

A fresh coat of paint not only instantly improves your home’s curb appeal but also provides a vital layer of protection against the elements. Whether you’re tackling the job yourself or hiring a professional, understanding the painting process can help ensure you have long-lasting, beautiful results. In this guide, we will walk you through everything you need to know about exterior painting.

Why Exterior Painting Matters

Exterior paint provides many benefits for your home, including: 

Moisture Prevention — Paint protects your siding and other exterior surfaces from moisture damage, which can lead to rot, mold, and mildew. 

UV Protection — Exterior paint shields your home’s surfaces from the damaging effects of the sun’s ultraviolet (UV) rays, preventing fading and deterioration. 

Pest Deterrent — A fresh coat of paint can deter insects and pests from entering your home through cracks and crevices. 

Extreme Weather Resistance — Paint provides a layer of protection against harsh weather conditions like rain, wind, or snow. 

Enhanced  Quality — Regular painting extends the life of your siding, trims, and other exterior surfaces, preventing costly repairs down the road. 

Improved Aesthetics — A well-maintained exterior makes your home more attractive and inviting, increases your home’s market value, and boosts your pride in your home. It also lets you express your personal style. 

Increased Energy Efficiency — Some paints can help reflect sunlight and reduce heat absorption, potentially lowering energy bills. 

When to Paint the Exterior of Your Home

The ideal time to paint depends on your local climate, but generally:

  • Every 5 to 10 years for most homes
  • Every 3 to 7 years for homes with wood siding
  • Every 15 to 20 years for homes with fiber cement siding or brick (if painted)

Look for signs it’s time to repaint:

Fading or Discoloration — Color that appears full or washed out could be a sign of degrading paint.

Cracked or Blistering Surfaces — Imperfect surfaces could indicate that the paint is no longer adhering properly to the surface. 

Bubbling Paint or Mold, Mildew, or Water Stains — These can indicate moisture trapped under the paint, which can cause damage. 

Chalking — When paint degrades and leaves a chalky residue on your hands when touched, it’s time for a new coat. 

Choosing the Right Exterior Paint

High-quality paint provides the best durability and protection. Consider:

1. Type of Paint 

The Ultimate Guide to Exterior Painting

Acrylic — This paint is popular for its flexibility, durability, and resistance to cracking and fading. It’s breathable, allowing moisture to escape and preventing peeling and blistering. 

Latex — Latex paint is water-based, offering good performance, easy clean-up, environmental friendliness, and ease of use. This paint is also less prone to yellowing over time. 

Oil-Based — Oil-based paint is less common today due to environmental regulations and the preference for water-based alternatives. However, it does offer great adhesion, durability, and a smooth finish. This paint works best for doors, wrought iron, and trim details. 

2. Sheen Options

Flat/Matte — This type of paint offers a non-reflective, smooth finish, so it is often used on siding to minimize imperfections and glare. It’s less durable and harder to clean than other sheens. 

Satin/Eggshell — Satin and eggshell sheens are a popular choice for exterior siding because they hide surface imperfections. They are easier to clean, stand up better to abrasions, and can be more easily cleaned. 

Semi-gloss/Gloss — This sheen is the easiest to clean, making it ideal for trim, doors, and other high-touch areas. It repels dirt and adds richness; however, it can magnify surface imperfections. 

3. Color Selection

Your color selection should complement your roofing, landscaping, and neighborhood aesthetic. Lighter shades reflect light and make your home appear larger, while darker shades can highlight architectural features. 

DIY vs. Hiring a Professional

DIY — Doing it yourself can save you money and give you personal satisfaction. However, it can be time-consuming and come with safety risks when using ladders/scaffolding. It also requires the proper equipment that may be hard or expensive to acquire. 

Professional — Professional painters have access to specialized tools to give you high-quality, even results. Their extensive experience allows them to be faster and more efficient. Some companies may also provide a warranty or guarantee on their work. While it may be more costly up front, professional painting can save you money in the long run. 

How to Extend the Life of Your Exterior Paint

Once your home has a fresh coat of paint, make sure you:

  • Clean siding annually
  • Touch up minor chips and cracks promptly
  • Keep shrubs and trees trimmed back
  • Inspect caulking around windows and doors regularly

This will keep your property’s exterior looking good for many years. 

The Ultimate Guide to Exterior Painting

Exterior Painting — Protection and Beauty for Your Home

Exterior painting allows you to make a big impact when it comes to the outside of your home. With the right paint choices, you can enjoy a stunning, long-lasting finish that boosts your curb appeal and protects your investment.

Need help with your next exterior painting project? Contact Rosewood for expert advice and professional service.

Filed Under: Painting

Remodeling Mistakes That Can Blow Your Budget

Remodeling provides an exciting opportunity to upgrade your home. However, with that excitement comes the chance for costs to spiral beyond what you planned for. Whether you’re updating a bathroom or undergoing a full kitchen renovation, one wrong move or impulsive decision can mess up your budget and knock you off schedule. Here are some of the most common remodeling mistakes that can blow your budget and how to avoid them. 

1. Underestimating the Total Cost

Many homeowners rely on ballpark estimates or optimistic online calculators, which may not factor in labor costs, permits, materials, design fees, and contingency costs. Always create a realistic budget that includes all these factors and at least 10-20% extra for unexpected expenses. 

Tip: Consider getting a bid from a licensed contractor who is known for quality and has appropriate experience. 

2. Skipping a Detailed Plan

Jumping into a renovation without a solid plan can lead to unnecessary stress, spiraling costs, expensive mistakes, and pricy mid-project changes. Every detail — from materials to finishes to plumbing layouts — should be decided on before you start demolition.  A detailed plan will also help you stay within budget when the typical issues and unforeseen challenges arise. 

Tip: Create a detailed project plan and timeline. Use budget apps or software to help you stay organized and track changes. 

3. Changing Your Mind Mid-Project

Making design changes after construction begins almost always leads to delays and added expenses. Every alteration can trigger a domino effect — new permits, reorders, and extra labor costs.

Tip: Tip: Finalize all decisions during the planning phase and resist the urge to “tweak” things during execution.

4. Ignoring Permits and Building Codes

You take a big risk when you skip permits in order to save time and money. If your remodel fails inspection or has to be redone, you may have to pay fines and spend more money, using up what you saved. You can also hurt your resale value and complicate insurance claims. 

Tip: Always check with your local municipality or work with a contractor who handles the permitting process.

5. Choosing Trend Over Timeless

Remodeling Mistakes That Can Blow Your Budget

You may love your trendy finishes now, but they can quickly go out of style, leaving you with an outdated kitchen, bathroom, or living room you may not like in a few years. Trendy touches may also cost more than classic alternatives. That popular backsplash you found online may also hurt your home’s resale value down the line.

Tip: Aim for timeless design in permanent fixtures and add trendy, personal touches with small, easily replaceable accessories to avoid making mistakes you regret down the line.

6. Hiring the Wrong Contractors

Never choose a contractor based solely on the price, or skip background checks. Poor or little research can lead to subpar work, delays, and surprise costs from inexperience or miscommunication. 

Tip: Always check references, licenses, insurance, their portfolio, and reviews. Don’t skip the contract — ensure everything is in writing. You should also ask plenty of questions, so you and the contractor are on the same page. 

7. DIYing Beyond Your Skill Level

Doing renovations can help you save money. However, doing electrical work, plumbing, or structural work when you don’t have the experience can create a dangerous situation or require expensive professional corrections.

Tip: Remodeling provides a great chance for you to develop or refine your skills. However, know your limits. Tackle cosmetic updates yourself and leave the complex jobs to the professionals.

8. Not Accounting for Living Expenses

Consider whether you will need to live elsewhere during the remodel, eat out more often, or rent storage space, as these costs can add up fast if you didn’t add them to your budget. 

Tip: Include temporary living and lifestyle costs in your overall remodel budget.

9. Buying Cheap Materials

Cheap materials may save you money initially, but over time, you may experience warping, breaks, rough saw cuts, and other problems, causing you to replace things sooner than you would like or more often than expected.

Tip: If you want to save money, consider cutting items that won’t impact the overall design or structure of the space you are remodeling, such as hardware or backsplash. These can be added later when you have the funds. 

Avoid These Mistakes to Save Money During Your Next Remodel

Remodeling Mistakes That Can Blow Your Budget

Remodeling can breathe new life into your home and even boost its value. However, the process is full of potential financial pitfalls. From poor planning and impulsive design changes to hiring the wrong contractor or overlooking hidden costs, you can easily make mistakes and blow passed your set budget. 

The key to staying on track is preparation: know what you want, plan thoroughly, set a realistic budget, and work with trusted professionals. By avoiding these common remodeling mistakes, you’ll not only save money but also save yourself a lot of stress.

Filed Under: Painting

  • « Previous Page
  • 1
  • 2
  • 3
  • 4
  • 5
  • 6
  • …
  • 22
  • Next Page »

Hours

Rosewood Painting and Remodeling

893 Marshall Way N
Layton, UT 84041

385-348-5022

Alt:385-503-4407

MONDAY 8:00 AM - 5:00 PM
TUESDAY 8:00 AM - 5:00 PM
WEDNESDAY 8:00 AM - 5:00 PM
THURSDAY 8:00 AM - 5:00 PM
FRIDAY 8:00 AM - 5:00 PM
SATURDAY CLOSED
SUNDAY CLOSED

Directions

Follow Us

Contact Us

2025 | Rosewood Painting and Remodeling | All Rights Reserved | Privacy Policy | Terms | Accessibility Statement | Anti-Discrimination Disclaimer | XML Sitemap | Sitemap | Site by PDM